Choosing AppleScript package format for execution
Introduction
AppleScript is a powerful scripting language that can be used to automate tasks on macOS. However, before you can run an AppleScript, you need to package it in a way that makes it executable. There are several different ways to do this, and the best approach for you will depend on your specific needs.
In this blog post, I will discuss the different ways to package an AppleScript file, and I will provide some guidance on how to choose the right approach for your needs. I will also discuss the advantages and disadvantages of each approach, so that you can make an informed decision.
I have tested the following approaches on macOS Monterey, but they should also work with macOS Ventura.
Options
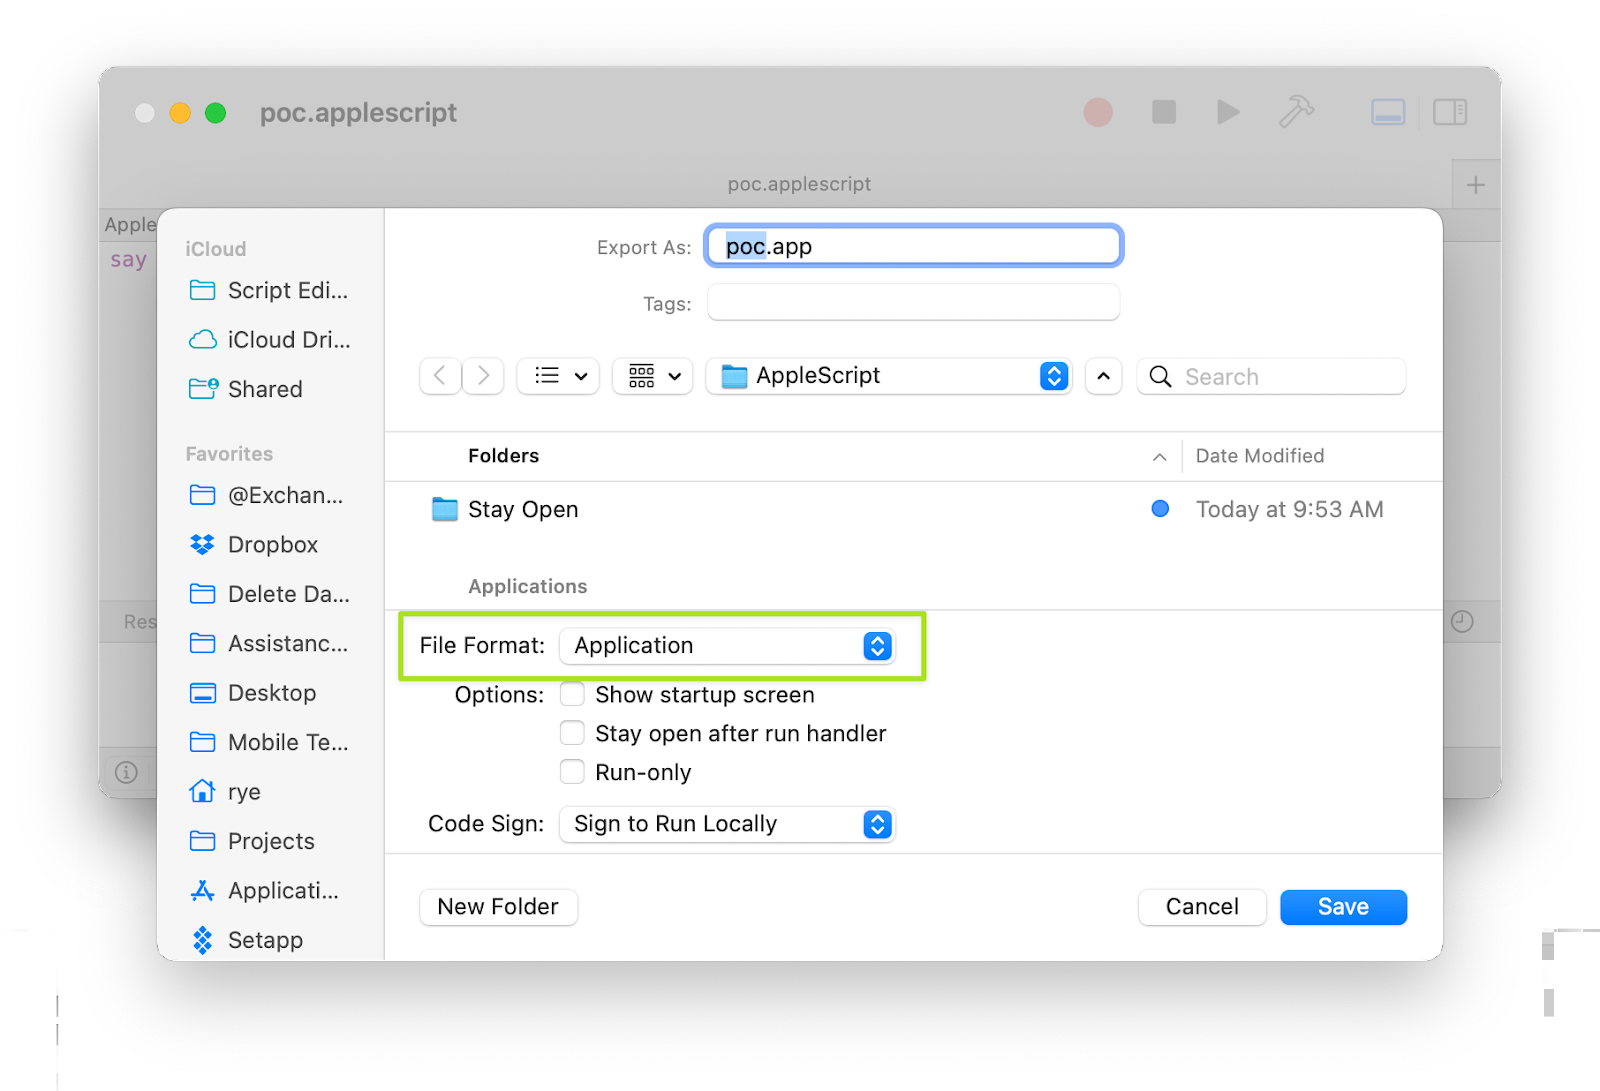
Option 1: Exporting an AppleScript as an Application
Change the file format to Application
Features
- Most straightforward approach.
- The script is portable that it can be shared with other Macs.
- The app can be triggered from the spotlight.
- Small footprint. The generated file above is only 175KB.
Disadvantages
- Updating the script would require the source file to be re-exported.
- Changing the icon is not a straightforward approach. I use a paid app Image2icon app to try to change its icon and it didn't work.
- There is a small overhead in the launch time because it is an app.
Option 2: Creating an AppleScript Application using Automator
Features
- The script is available across apps.
Advantages
- Easy to change the application icon using the Image2icon app.
- Easier to change the implementation. Just change the referenced script file and the app would reflect the changes on re-run.
Disadvantages
- The application file is larger at around 3.3MB, and even slightly bigger at 4.1MB after changing its icon.
- More steps to create the app but nothing that can't be automated.
- There is a small overhead in the launch time because it is an app.
Option 3: Running the Script in Script Editor or Script Debugger
Features
- The script is very easy to trigger
- The script is available across apps.
Disadvantages
- The script is prone to accidental modification because we are opening the file with a code editor.
- Launches a separate app just to launch a script.
Option 4: Running the Script from the Script Menu
Features
- The script can be triggered from the menu bar.
- The script can be available across apps or specific only to the focused app.
Disadvantages- The script is a copy and would need extra steps to properly manage via version control.
- The script is a copy and would need extra steps to properly manage via version control.
Option 5: Running the Script from a Keyboard Maestro Macro
Features
- The script code can also be triggered via the Script Menu.
- Thes script can be triggered via command line.
- The script can be triggered via URL.
- The script can use the blanket of the Keyboard Maestro accessibility permission.
- The script is very convenient to trigger if you have a Stream Deck.
- The script will run faster as compared to an app.
Disadvantages- The script is not easy to version control
- The script requires the use of a paid app Keyboard Maestro.
- The script is not very easy to trigger
- Requires another form of trigger like Stream Deck hardware or via a hotkey.
- The script is not easy to version control
- The script requires the use of a paid app Keyboard Maestro.
- The script is not very easy to trigger
- Requires another form of trigger like Stream Deck hardware or via a hotkey.
Option 6: Running the Script in the command line using osascript
Advantages
- Easy to use when working in the command line.
Disadvantages
- Requires the use of a Terminal app.
- Might be too technical to use for regular folks.
In Summary
| Use Case | Automator Application | Keyboard Maestro Macro | Script Editor Application | Script Menu | Script Editor | Command Line |
|---|---|---|---|---|---|---|
| Script Icon | ✅ | ❌ | ❌ | ❌ | ❌ | ❌ |
| App-Specific | ❌ | ❌ | ✅ | ✅ | ❌ | ❌ |
| Available System Wide | ✅ | ✅ | ✅ | ✅ | ✅ | ✅ |
| Build script (Makefile) | ✅ | ✅ | ❌ | ❌ | ❌ | ✅ |
| Git Version Control | ✅ | ❌ | ✅ | ✅ | ✅ | ✅ |
Conclusion
- Do we strongly feel the need to do version control for the script? If yes, use Application.
- Do we need the script to be available only to the current app? If yes, then use Keyboard Maestro Macro along with Script Menu.
- Do we need the script as part of the build process? If yes, then use the command line option.


